No email address. No purchase. Start with what you already own.
The lavish option. Beautiful is not measured in ornament count.
You decide when it’s finished.
Each layer changes the mood. Stop with lights and a topper, keep an airy mix, or go all in. Add your meaningful pieces at any stage; you never have to buy your way to the last picture.
Shape and spread the branches first. Test the lights before decorating, and follow the tree and light makers’ instructions. Then use these six visual lessons in the order that works for you.
Keep the meaningful piece
LAYER 01
Choose your starting point.
Start with something you love: an heirloom, a color, a ribbon or a particular mood. Gather your decorations before buying anything.
Where it goes: Choose the topper early so its color and scale can guide the rest. A star, finial or oversized bow can all work.
The star is our anchor, not a shopping requirement.
Light inside + outside
LAYER 02
Build the glow.
On an unlit tree, weave lights in and out of the branches so some sit deeper and some closer to the tips. On a pre-lit tree, check the glow before adding more.
Where it goes: Look for dim patches from your usual seat. Warm white creates a soft glow; colored lights can be just as personal.
Love the quiet look? Lights and your topper can be enough.
Stagger, don’t stripe
LAYER 03
Give the eye a path.
If you love ribbon, tuck loose sections or bows into the tree at staggered heights. Let a few larger ornaments sit on sturdy inner branches.
Where it goes: Move around the tree instead of making one straight stripe. Leave space for special ornaments you will add later.
Ribbon is optional. You can create the same rhythm with ornaments.
Mix shapes + sizes
LAYER 04
Repeat, then vary.
Repeat a few colors or finishes around the tree. Mix round ornaments with drops, bells, birds or paper shapes; vary their sizes.
Where it goes: Let an ornament hang freely in front of a gap instead of resting against a branch. Keep some greenery visible if you like an airy finish.
This can be your finished tree. More is a choice.
Make the story visible
LAYER 05
Give your treasures the spotlight.
Place the pieces with a story where you will notice them. Face them toward the room and give each a little breathing space.
Where it goes: Use simpler ornaments nearby so the special piece is easy to see. Put heavier pieces on stronger branches, closer to the trunk.
You can add these earlier, too. The guide is a helpful order, not a rule.
Repeat the palette
LAYER 06
Love abundance? Keep layering.
For a lavish finish, repeat your palette with more ornaments, fine bead swags and luminous ribbon. Mix matte and reflective surfaces so the layers have depth.
Where it goes: Step back after each small addition. Shift a crowded cluster, balance a bare patch and keep your focal pieces visible. Stop when it feels like you.
A quiet tree and a maximalist tree are equally finished.
Before you add another thing
Step back. Look from your seat.
A phone photo can make a crowded patch or a dim spot easier to notice. Try moving one piece before shopping for another.
Too flat? Put some simple ornaments deeper into the branches.
Too busy? Remove one competing color or cluster.
Too uniform? Mix a few shapes and sizes.
Something disappears? Give it space or a lighter neighbor.
Already love it? You’re done.
The lavish finish · A grand-hotel reference
A little Plaza magic, at home.
Our maximalist option takes its cue from the gold-and-silver abundance in The Plaza’s holiday imagery: reflective surfaces, generous ornament layers and a bright, cohesive palette. Here, ivory ribbon makes the shapes easy to see against the evergreen.
Cherished’s own home-scale interpretation; no hotel affiliation. Keep the feeling, choose your own topper and work with what you have.
Different styles. The same useful principles.
The room sets the mood.
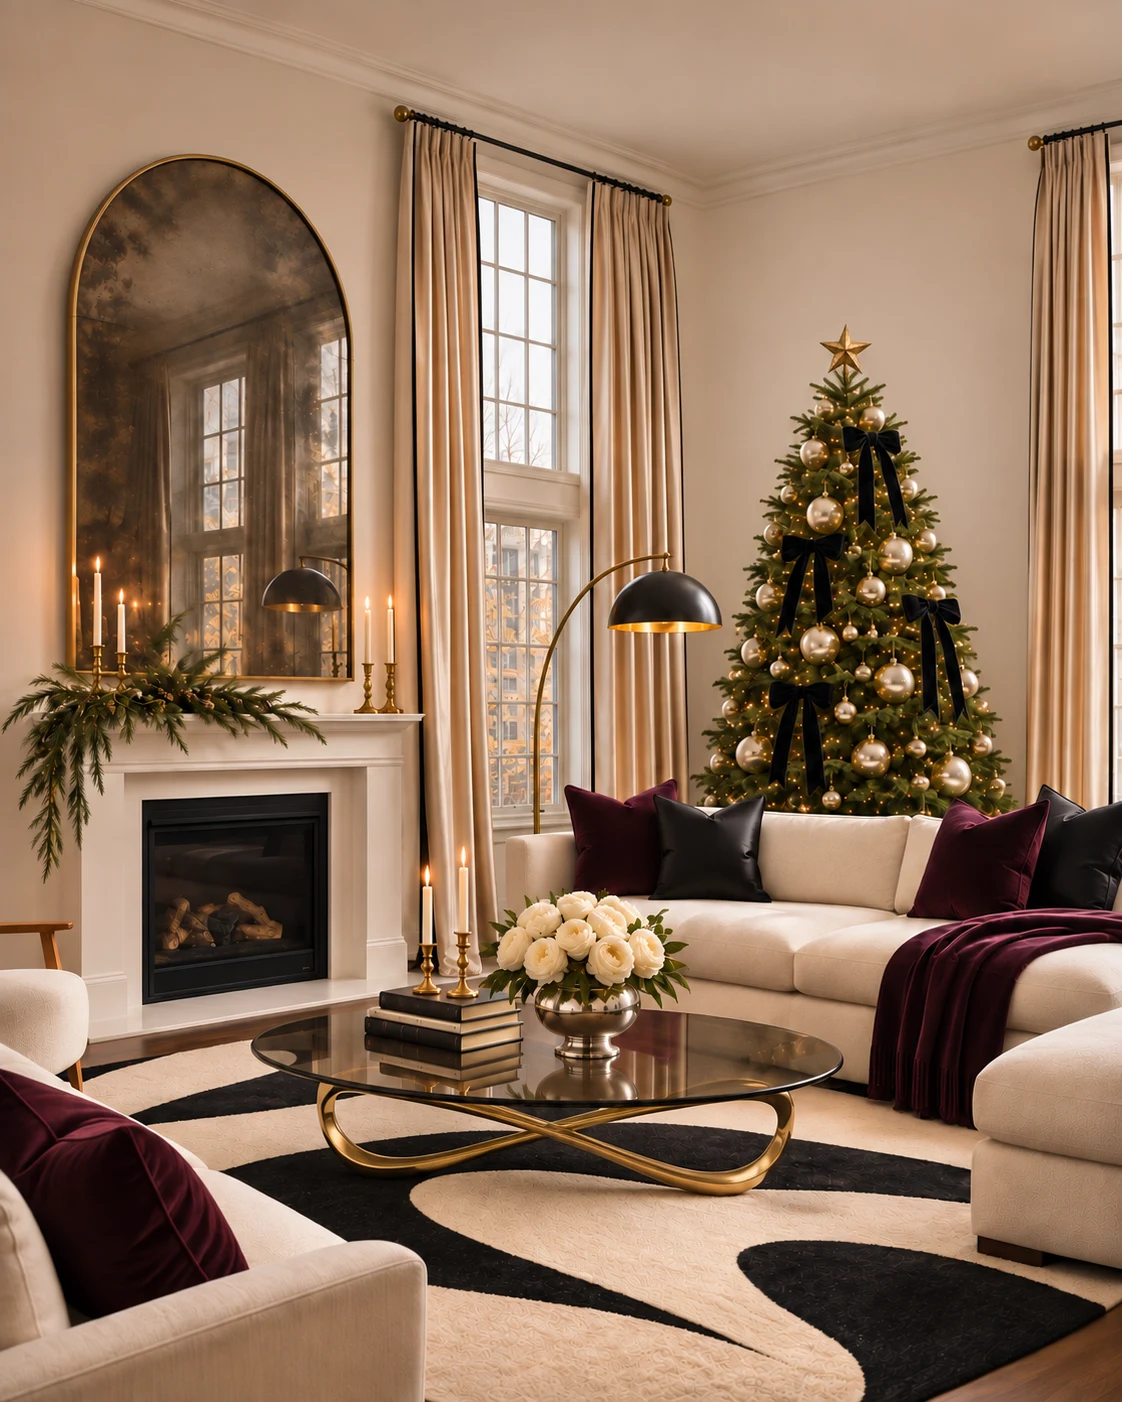
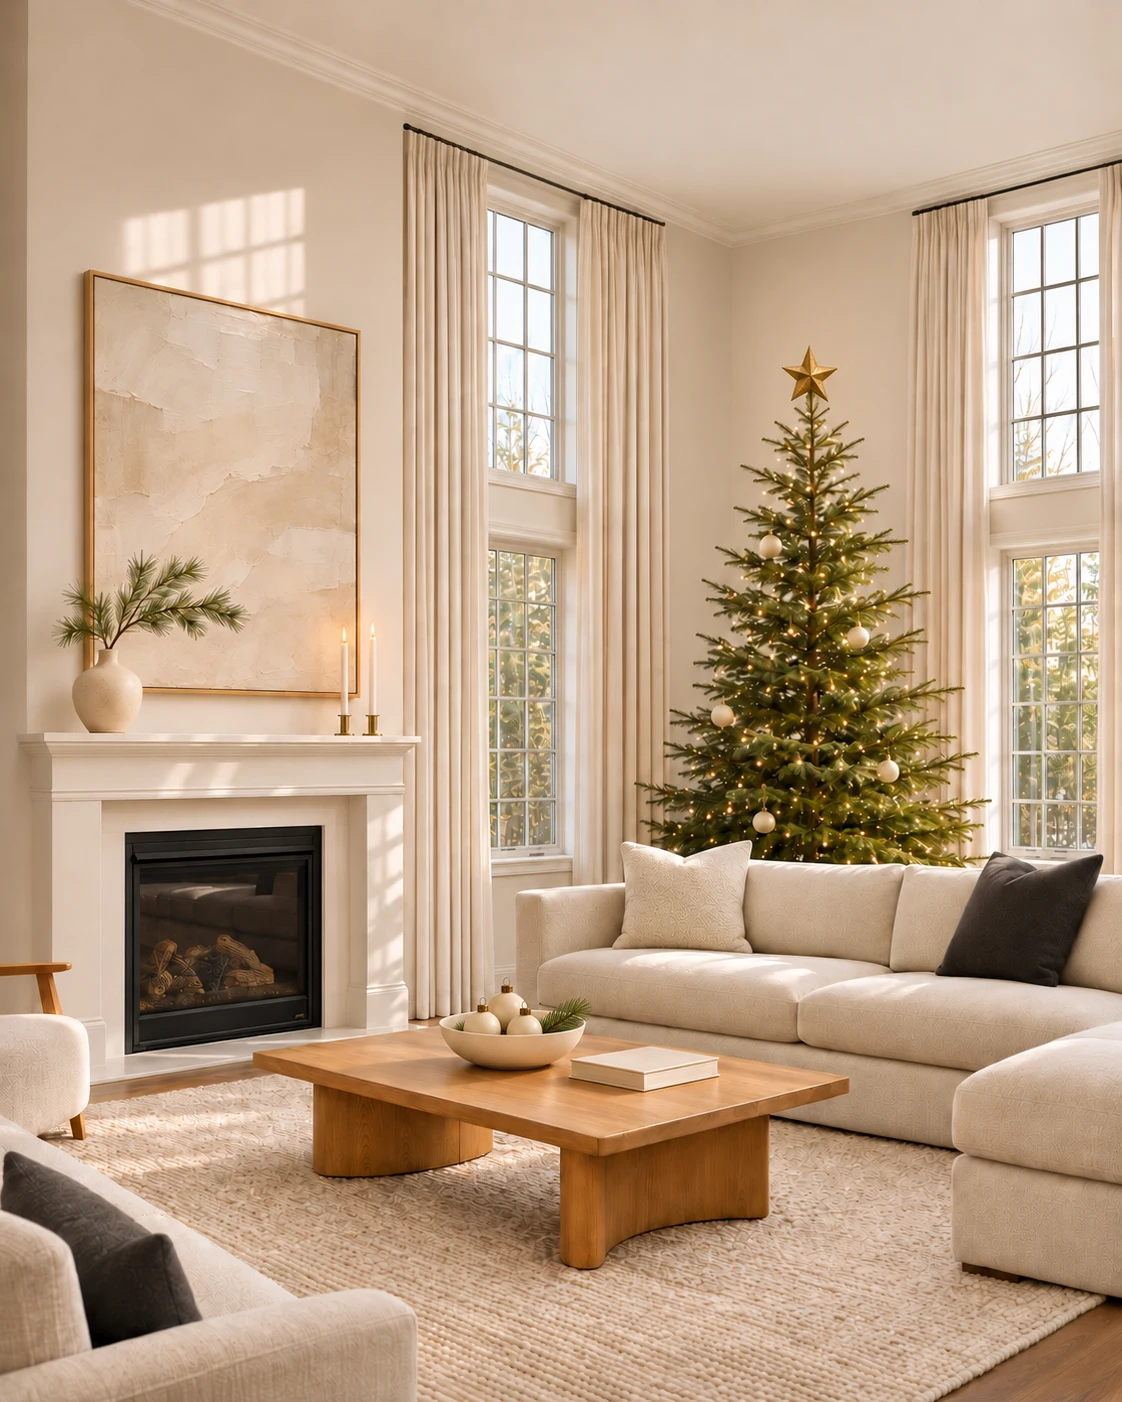
You can decorate lightly or lavishly in any style. Repeat a few room colors on the tree; let meaningful ornaments bring the personality.
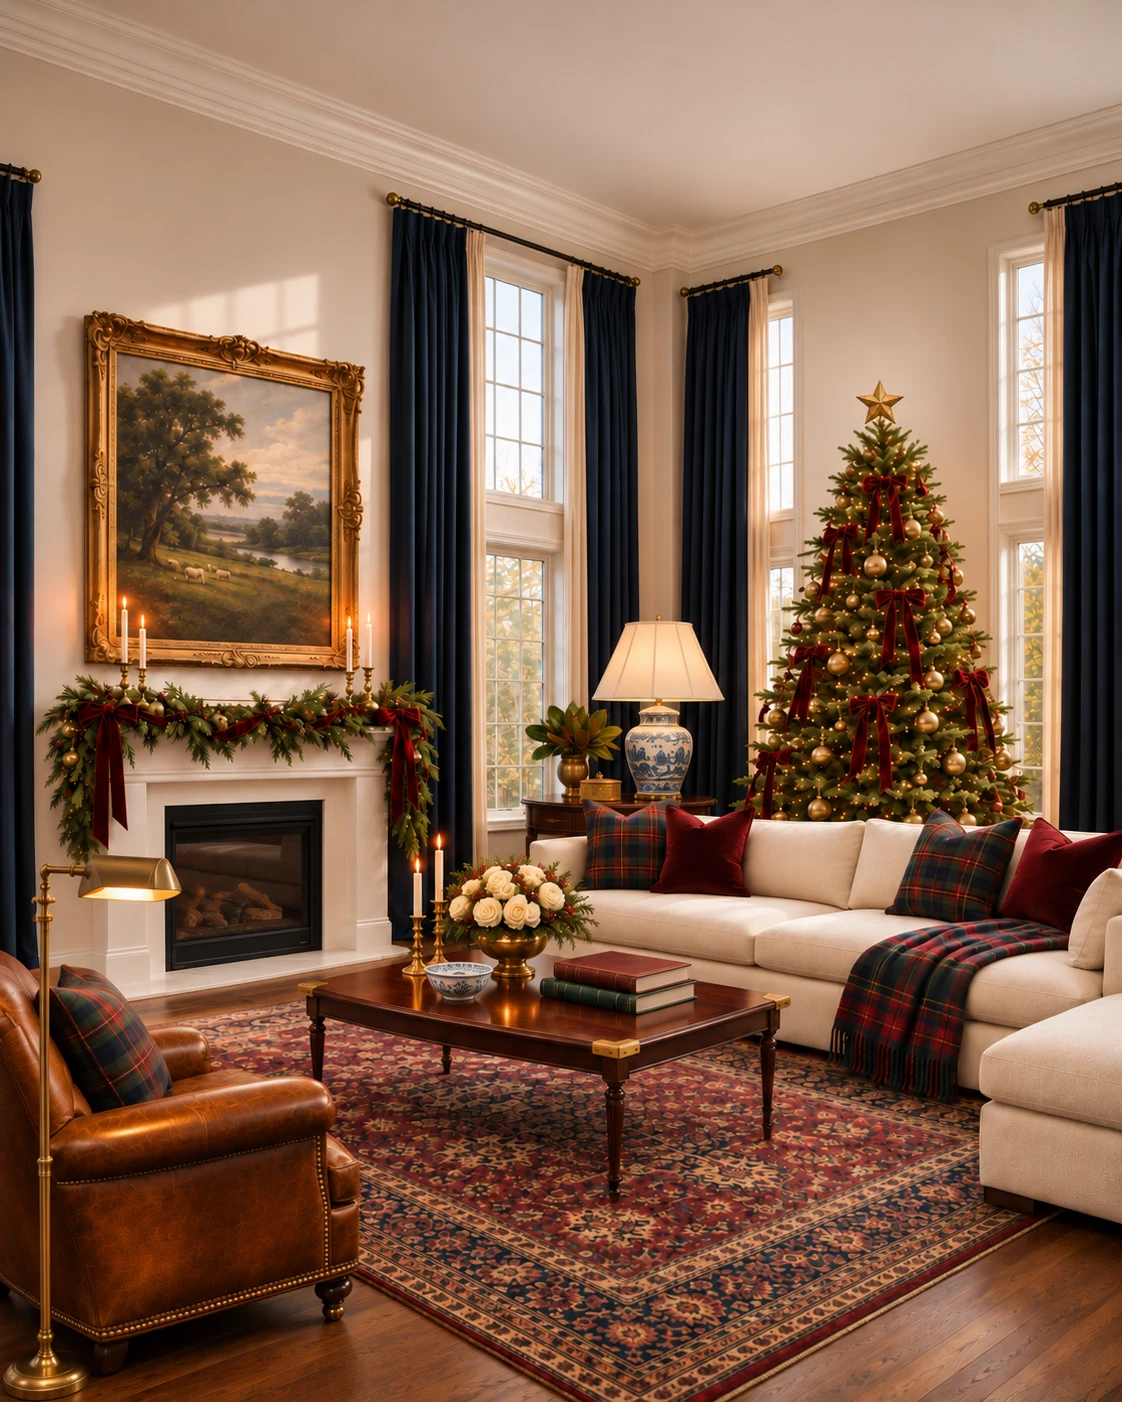
Collected traditional
Navy, warm brass and rich red work with tartan, velvet and heirlooms. Try ivory ribbon when darker ribbon disappears into the branches.
Choose a height and the amount of decoration you enjoy. This is a starting range for total hanging ornaments on a typical full-shaped tree, decorated all around with mostly 2–4 inch pieces. It excludes ribbon, the topper and lights.
Lights and a topper alone? You can stop with zero ornaments. Slim trees, larger ornaments, generous ribbon or only decorating the visible sides can need fewer; wide trees and tiny ornaments can need more.
Our ornament planning ranges
Height
Airy
Classic
Abundant
6 ft
30–45
60–90
100–150
7½ ft
40–60
75–115
125–190
9 ft
55–90
110–180
180–270
These are Cherished planning estimates, not a required count. Our classic ranges use Christmas Central’s height-based guidance as a reference; airy and abundant ranges are our editorial adjustments. Tree shape, ornament size and ribbon change the result.
Ribbon: choose a method.
A few bows? Make one at your preferred size, measure the ribbon it uses, then multiply by the number of bows. Six bows using 1½ yards each need 9 yards.
Full cascading ribbon?Balsam Hill suggests about 3 yards per foot as a starting point: 18 yards for 6 ft, 22½ for 7½ ft, or 27 for 9 ft. That is a fuller treatment—not what you need for a few bows.
Check units: a 9-foot spool is only 3 yards. Subtract ribbon you already have.
Buy the missing layer.
If you own 60 ornaments and want a classic 7½-foot tree, our range suggests roughly 15–55 more. Start at the low end and reassess with the ribbon in place.
Choose the actual gap: background color, a new shape or one meaningful focal piece. One mixed box may be enough; you do not need to buy every kind.
Pre-lit tree? Test its existing lights first. For added lights, compare lit length, bulb spacing and brightness, and follow the product’s connection limits.
Keep it beside the ornament box
Your one-page tree checklist.
Six reminders, a quick balance check and space to note what you already own.
Love your tree, but the rest of the room isn’t coming together?
We help you decide what to keep, where it goes and what to buy first—for your room, your budget and the way you host. Start with a few phone photos and a few questions; receive your personal styling report with visuals, placement guidance and prioritized product links.
First complete report within 2 business days after complete photos, measurements and answers. One per household; offers cannot be combined. Décor and installation are separate.
 CHERISHED